Creating Portfolios
Creating a new Portfolio
Creating a Portfolio consists of two steps: first you’ll need to create the Portfolio. Second, you’ll have to add content to the Portfolio. These two actions are described below.
Opening the Portfolio Framework in Blackboard:
Point your browser to www.uu.nl/blackboard and log on with your Solis ID and Password.
Click ‘Portfolio’ at the top-right of the screen.
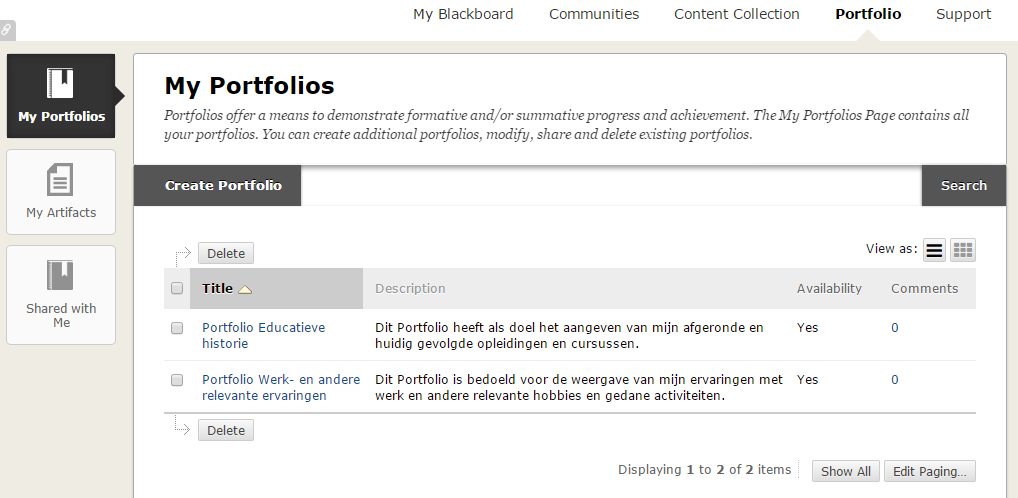
Three sections can be seen at this page:
- ‘My Portfolios’ shows a page with all your portfolio, or portfolio’s since you can create as many as you like.
- ‘My Artifacts’ directs you to a page where you are able to add and modify Portfolio-related objects
- ‘Shared with Me’ brings you to Portfolios of other students, who shared their portfolio’s with you for the purpose of receiving feedback.
Step 1: Creating a new Portfolio in Blackboard
Be sure that you are in the section ‘My Portfolios’.
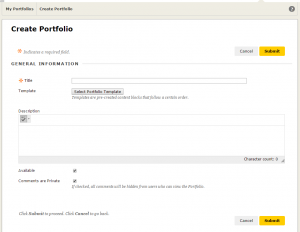
- Select ‘Create Portfolio’
This action creates a new Portfolio and directs you to a screen in which you will be able to change some of the properties of your Portfolio, like a title, a description and menu styles. In this screen, you may also adjust settings about the accessability to others, about sharing the comments and about the privacy of your Portfolios.
Do not forget to add a short description for your Portfolios, like type, target e.g. When you’ll have a lot of Portfolios, making use of descriptions will make it easier for you to find the correct one.
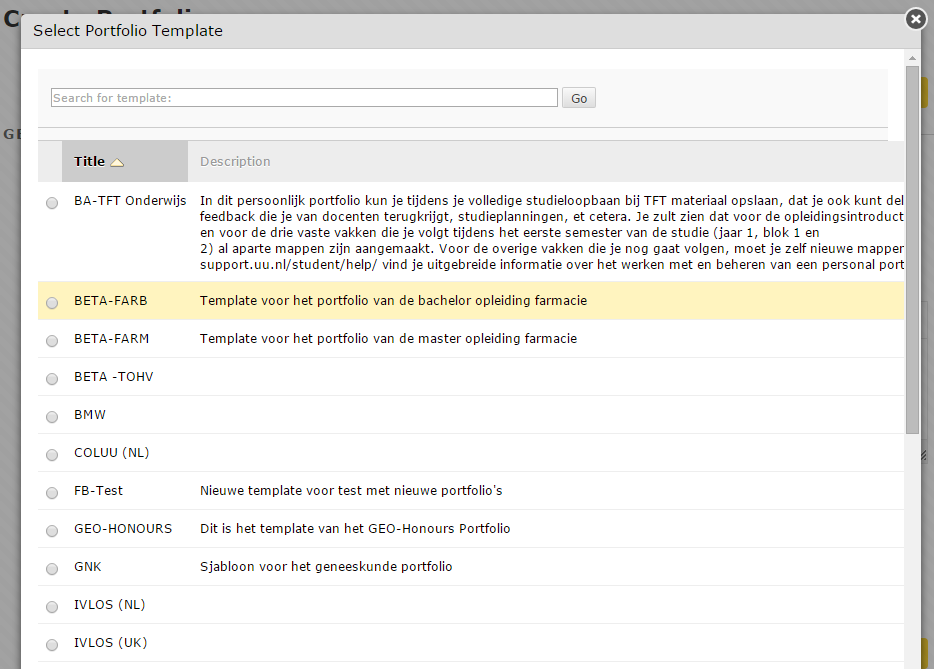
- It is important to firstly select the correct Template of your Faculty, this has to be done via ‘Select Portfolio Template’. Chose the correct Template in the list with all possible Templates, after that, click Submit:
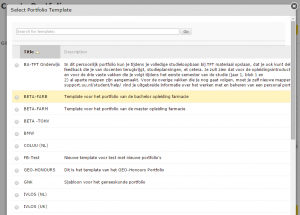
- Some Templates have a build-in format for the title of the Portfolio. In this case, the Portfolio has a placeholder for the title, that must be filled out with your personal details, like in [Family Name], [Given Name], [Student ID]. Change the title with your own details and drop the brackets. When you are done, issue a Submit. Blackboard is now creating the body of the Portfolio conform the Template chosen.

Step 2: adding content to the Portfolio
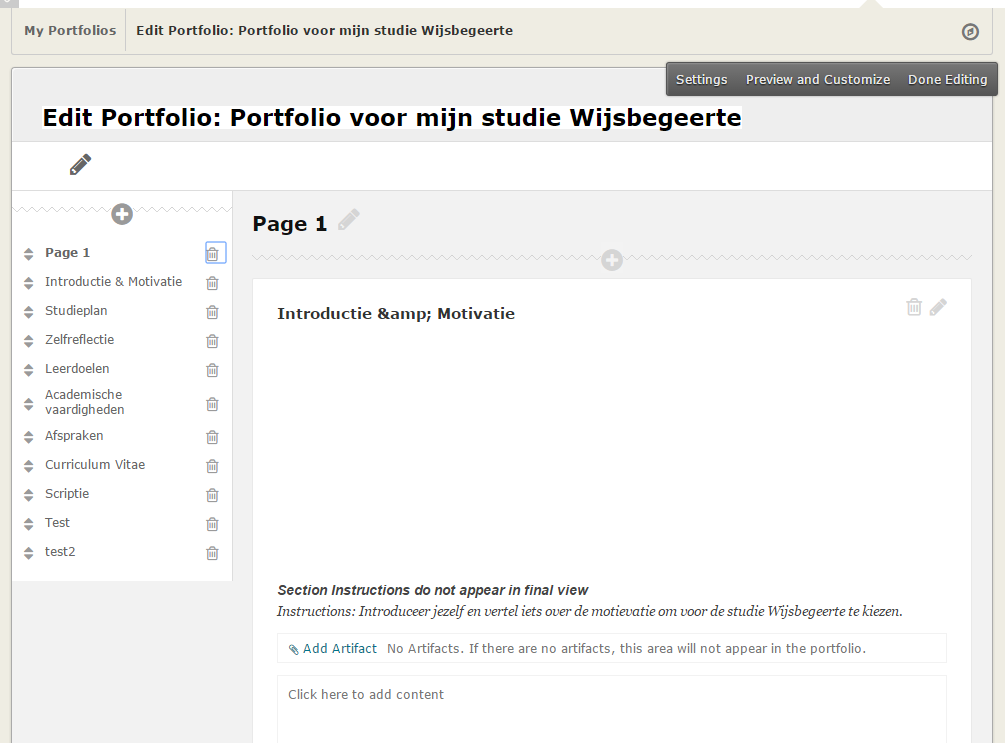
- After step 3, you will be directed to a screen that looks like the one below, depending on the used Template:
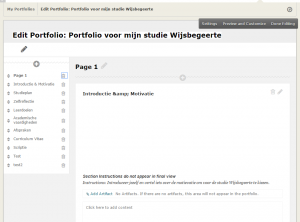
At the left side of the page you’ll see an overview of the different sections, the center and right part of the page are the actual sections, that have to be filled in with the content of the Portfolio. - Create the content of your Portfolio. The description of the authoring process can be found in: Filling the Portfolio