Completing Portfolios
Creating and managing Artifacts
An artifact is an essential building block for your portfolios. Artifacts are (a grouped set of) papers, essays, or other objects that visualize the progress of your study or knowledge. If you want to add an artifact to your portfolio, you’ll firstly have to create it in ‘My Artifacts’. This is a specific tab within the portfolio framework.
Artifacts can be added to different portfolios. This is why artifacts have to be managed outside the portfolio and why artifacts are only referenced to, but not enclosed into the portfolio. Any change to an artifact can be seen immediately in all the portfolios that it has a reference to.
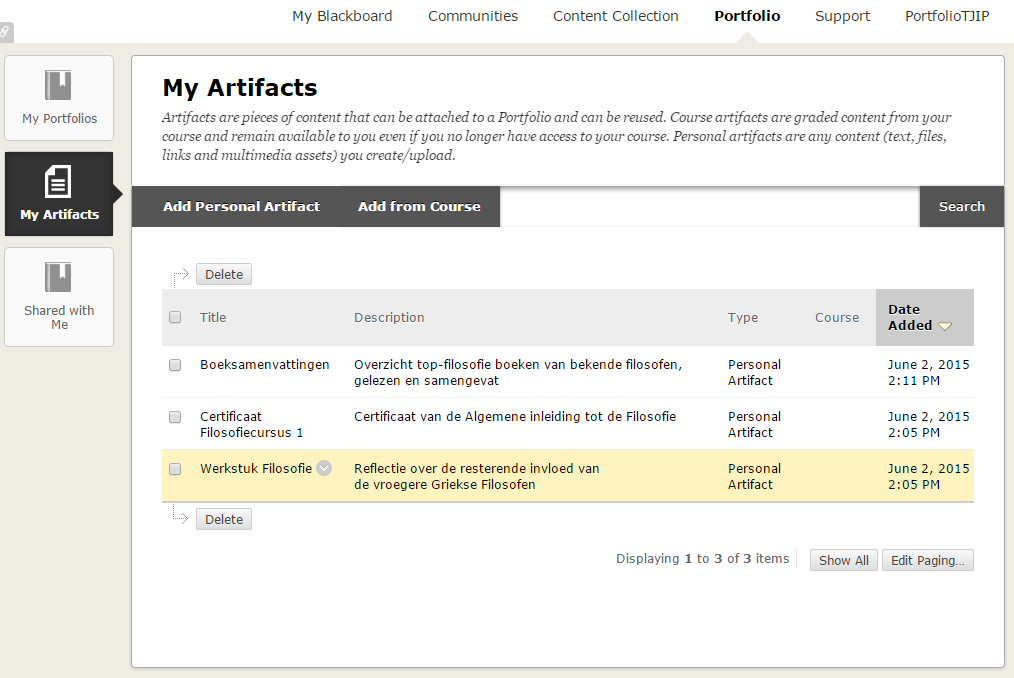
Below is a description of the creation-process of the artifact, which starts at the screen ‘My Artifacts’, where you can see all the artifacts you already made.
- Creating a new artifact
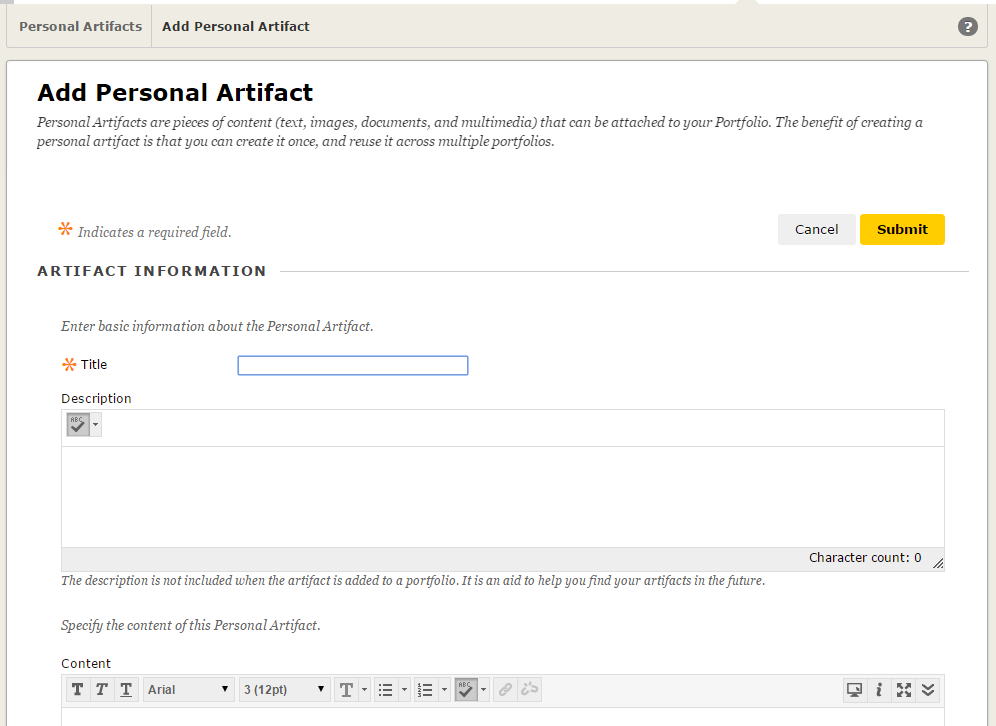
Click ‘Add Personal Artifact´. The window below appears:

Add a clear and identifiable name in the field ‘Artifact information’, together with a short description of the artifact, so you will be able to distinguish your artifact from the other ones you have.
. - Adding information
After creating the basic information, you are able to add content to your artifact. This is done by clicking into the white area of the content editor below the title ‘Specify the content of this Personal Artifact’.
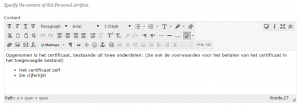
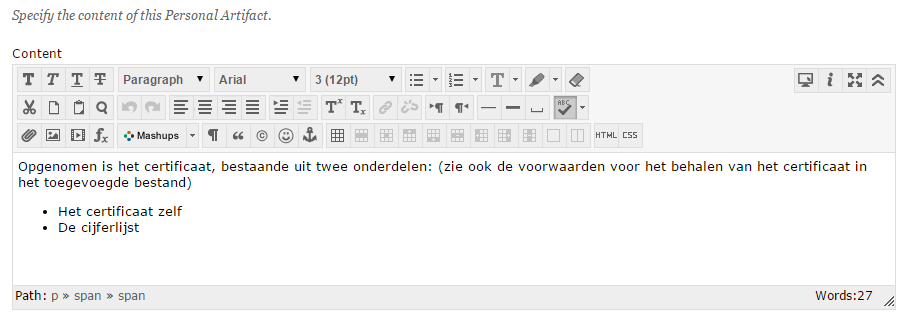
The image above shows the editor with the expanded menu. The menu can be expanded by clicking on the double downward arrow at the right of the top of the editor.
The first two rows of the editor contain functions to make up the text and to add hyperlinks to external websites.
Via the third row, images, videos and audio-files can be added to the artifact and tables can be added and edited. If you need more information about the function of the buttons in the editor, choose ‘i’.
. - Adding external files to the Artifact
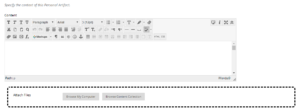
Your artifacts will allways contain descriptive text, and usually you’ll want to add external files to your artifacts. You can add attachments out of your own content collection as well as out of your own computer.
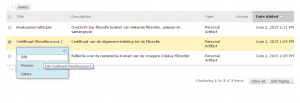
Adding files is done via ‘Attach File’, the files are listed and can be managed below the artifact.
All of the added files are related to the artifact, not to a portfolio. The artifact itself is also only related to the portfolio, it is not a part of the portfolio: if a portfolio to which an artifact is coupled will be deleted, the artifact will still exist.
Beware to save your important files somewhere else (like your PC, USB-stick etc.), surely when it concerns pieces of evidence!!
. - Saving, editing and controlling the final result of the artifacts
When you are ready working on your artifact, you’ll have to save it by chosing ‘Submit’.
Editing previously created artifacts can be done at the tab ‘My Artifacts’. Click the arrow next to the name of the artifact to evoke a pop-up menu. Choose ‘Edit’ to make changes to the artifact in the way described in the previous paragraphs.
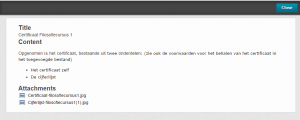
In the same popup menu you may also choose for the option ‘Preview’, so you’ll be able to view the final result of your artifact: