

Communication and Collaboration
Tools for collaboration
Blackboard offers a few other tools that enable students to work together.
File Exchange
The File Exchange tool is only available for groups. Students can access the groups via My Groups or via the Tools option in the course menu (select Groups). As an instructor, you can also find the Groups page via the Users and Groups option in the Control Panel. Click on the name of a group and then select one of the Group tools that are available.
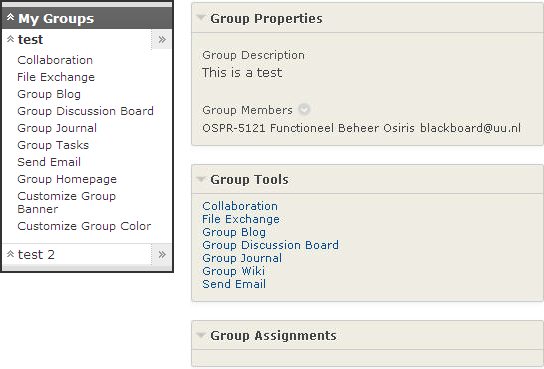
Click on the File Exchange link.
The File Exchange page opens.
With the Add File button, files can be saved in the course environment. This way, students can work together on files. Blackboard only stores the files – it does not provide version management. It is not possible to create folders in File Exchange.
Wikis
A Blackboard course Instructor can create a Wiki – either at course level or at group level. In a Wiki, students can build a web document together. This enables them to build a knowledge database (similar to Wikipedia) or to work on group assignments together. Once the Instructor has created a Wiki, all participants can add pages to it.
The Wiki can be created using the Tools option in the course menu, or via Course Tools in the Control Panel.
- Open the Wikis page from the course menu or the Control Panel.
If groups have been created, you will see the links to these groups on the left. You can create Wikis for one or more groups. - Click on the Create Wiki button (make sure that the Edit Mode is turned ON).
- Name the Wiki and, if you wish, describe the purpose of the Wiki in the Instructions field.
You can add a timeframe to the Wiki. - Under Wiki Participation, you can specify that students can add content to the Wiki: Open to Editing (if you select Closed to editing, you will need to build the entire Wiki yourself!).
- Under Wiki Settings, indicate whether a link should be made to the Grade Center so that the Wiki can be assessed.
- Press Submit.
Journals and Blogs
The Instructor can set up a Journal for the course. This allows each participant to keep their own Journal, which consists of separate messages posted by the participant. Attachments can be added to a message.
In principle, Journals are private, and in the default setting, students cannot see each other’s Journals. However, the instructor may specify that students are allowed to see each other’s contributions. The Journal then becomes ‘public’. The instructor will be able to see a list of all Journals, both private and public. The instructor can read all contributions and comment on them.
- Open the Journals page from the course menu or the Control Panel.
- Click on Create Journal.
- Name the Journal and, if you wish, fill in the Instructions field.
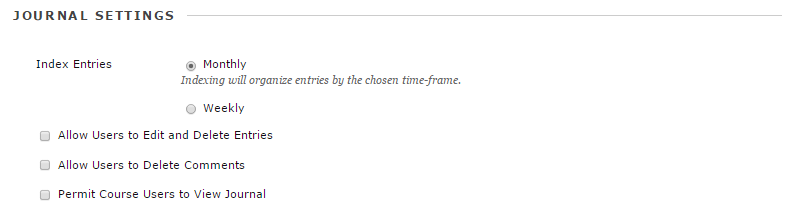
- Under the section Journal Settings, specify how often the contributions should be indexed and what users are authorised to do:
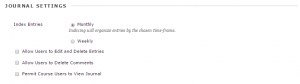
Allow Users to Edit and Delete Entries Students can edit or delete contributions that have already been posted. Allow Users to Delete Comments Students can delete the Instructor’s comments. Permit Course Users to View Journal Students are allowed to view each other’s Journals.
Besides Journals, an instructor may also use Blogs in a course. Blogs and Journals are very similar. Both tools offer an opportunity for posting contributions, and they may both be linked to the Grade Center so that they can be assessed as part of the course.
The differences between Blogs and Journals are:
- In the default setting, a Journal is private. Only the students themselves and the instructor can see individual contributions. (However, ‘Public’ Journals can also be read by other students.)
- A Blog is always public.
- When creating a Blog, the instructor can opt for individual blogs (students keep their own blogs) or a course blog (students and instructors keep a blog together).