Journals
Creating a Journal
First, go to a content area. In the example, this is Course Content.
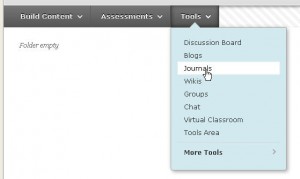
To create a new Journal, open the drop-down menu of Add Interactive Tool and select Journal.
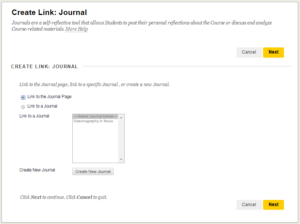
This page has three options:
- “Link to the Journal Page”. The Journal shows as a link in the respective page, that will give you an overview of all the available Journals. This eliminates the need to add the Journal section to the left menu.
- “Link to a Journal”. If you select this option, a requirement is that at least one Journal exists. Click the Journal you want to create a link to out of the list of existing Journals.
- “Create New Journal”. You will enter the wizard to create a new Journal. After this, you will still need action 1 or 2 to make the Journal available.
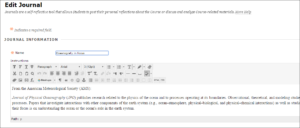
If you chose to create a new Journal, you will enter the screen below where you can use the text editor to give information about the Journal.
At Journal Availability you are able to make the Journal available (or not). Only if the Journal is available, students are able to comment to it. Certain date/ and timerestrictions can be set up to restrict the availability. This is done at Journal Date and Time Restrictions.
At Journal Settings, you can define:
- Whether the entries should be published once a week or once a month (“Index Entries”).
- Whether users are allowed to edit or delete entries (“Allow Users to Edit and Delete Entries”).
- Whether users are allowed to delete comments (“Allow Users to Delete Comments”).
- Whether others, besides the user and the instructor, are also permitted to read the entries (“Permit Course Users to View Journal’’).
At Grade Settings, you can define whether you will grade the Journal (“Grade”) or not (“No grading”). If you choose “Grade”, you may maximize the amount of points that can be given.
Click Submit.
The new Journal is now displayed in the list of Journals and will be visible as a column in the Grade Centre.


