

Introduction
Course Availability
In Blackboard, you can manage the availability of your course and modules at several levels. For instance, if you want to work on the course without the participants being able to see it, you can make either an entire course or specific parts of it ‘unavailable’. This way, you can try things out or work in advance, and only make the materials available when they are completely ready. You can make the course (or parts of the course) available again at any time you want.
A Blackboard environment that is created through Osiris is unavailable by default. You can see it as an instructor, but students cannot (or not yet).
Making a complete course available
At the start of a new academic year, new learning environments that are created will be unavailable until they are made available by the instructor. As an instructor, you can make an entire course available to students with a single action:
- Under Control Panel, click on Customization to fold out the submenu
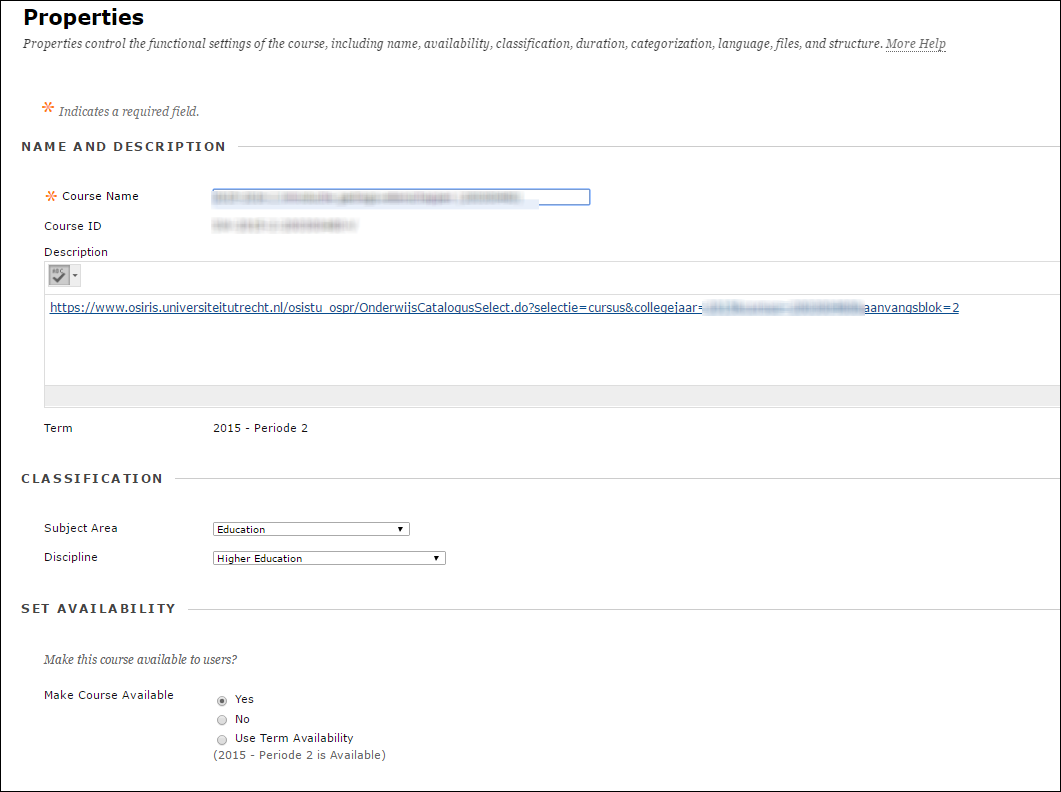
- Click Properties
A screen opens. Under the label Set Availability, you can make the course available to users by selecting Yes:
- Note
Students will only be able to see the course once you have performed this action!
Making specific course content available
- Make sure that the Edit Mode is turned ON
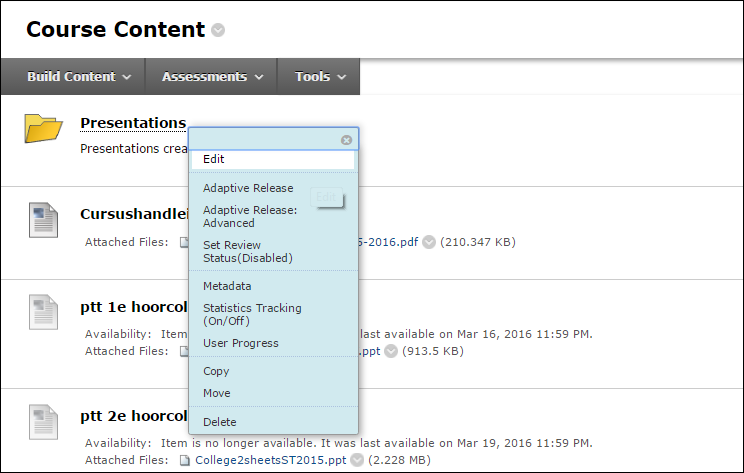
- In the course menu, select the area with Course Content you would like to make unavailable.
- Click the double arrow after the name of the item you want to make unavailable
- In the roll-out menu, click Edit:
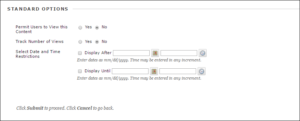
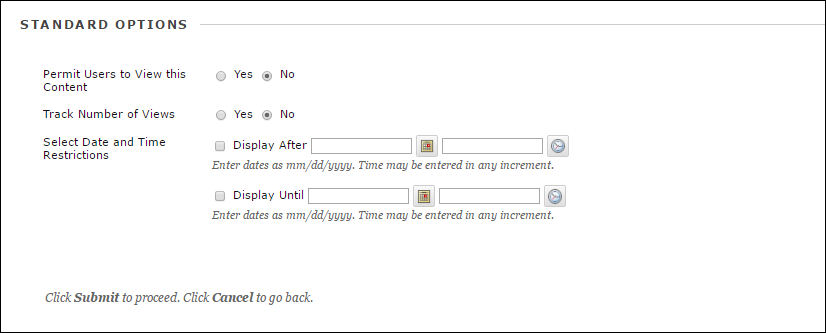
- In the Edit screen, under the Standard Options at Permit Users to View this Content, select No:
You can make an option from the course menu unavailable by hiding the option (Adjusting the course menu).