

Creating groups
Group Management
This article describes the management of groups, in particular the functionality of the startscreen will be explained. If you want to know more about importing and exporting users in or out of groups, than you’ll find more information in the article: Group-Management: importing and exporting users.
1/ Start Screen
A/ Lay-out
Be sure that you are in editing mode in a course. The screen below appears when you go to “Users and Groups > Groups”.
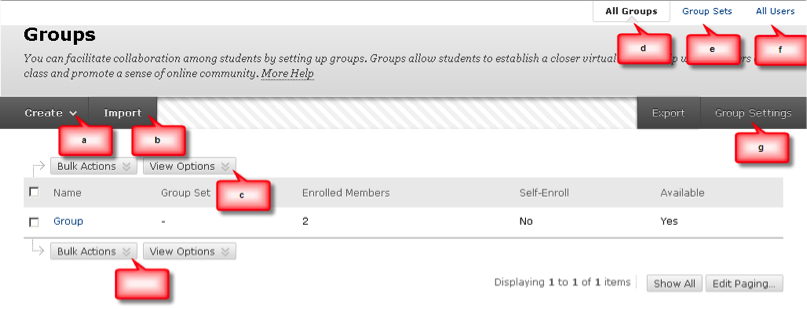
Interpretation of the Screen Buttons:
| A. Button Create | With this button several options can be chosen to create groups (see the page “Creating Groups“) |
| B. Button Import | With this button groups can be imported |
| C. View Options | With this option the tool availability en group code can be switched on and off |
| D. All Groups | This option can be used to show all groups within this course |
| E. Group Sets | This option shows all created group sets within the course |
| F. All Users | This option shows all users within the course and the group they are enrolled in |
| G. Group Settings | With this button the global settings for creating groups can be changed |
| H. Bulk Actions: | With this option groups can be deleted and smart views can be created |
B/ Table functions
View Options
If you click the chevron at “View Options”, the following submenu appears:
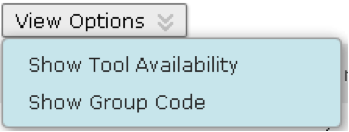
Clicking the Show Group Code unhides an extra column in which the group code is shown.
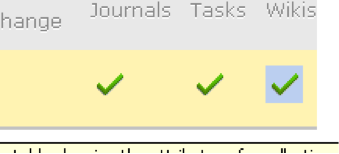
Clicking the Show Tool Availability shows all possible tools within the course and which tools are set to available or unavailable in the course.

By clicking the mark (or cross) the tool can be made available (or unavailable):
 : Mouse over
 : After clicking
As shown above the Wikis tools is set to unavailable for this group.
Bulk Actions
If you are activating the checkbox in front of one or more of the lines that contain groupnames, the options from the “Bulk Actions” submenu are in effect. If you choose for “Delete” or “Create Smart View for Group”, than this action will be executed for al the checkmarked groups.
.
C/ The “All Users” Screen
Clicking “All Users” at the right hand upperside of this screen shows all the users within the course. In the column “Groups” is shown in which group the user is enrolled.
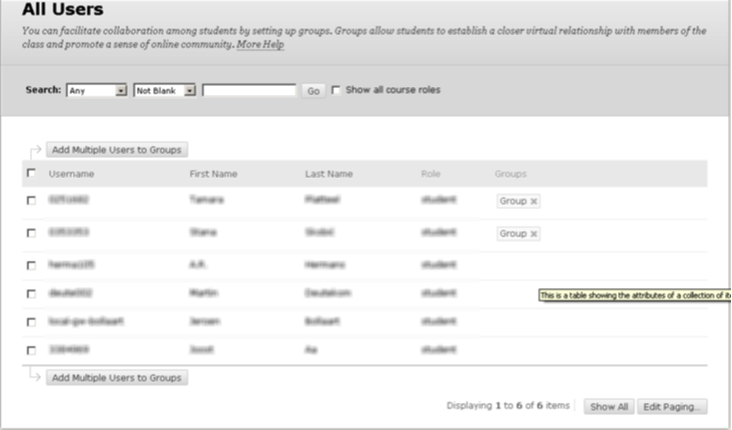
Adding one user to a group
It is possible to add an individual user to a group. To realize this, you have to direct the mouse in the line of the respective user to the “Group” column, and click “+ Add to Group”. The user will be added to the group you select in the pop-up screen.
Adding multiple users to a group
It is also possible to put users in more than one group.
- Click the checkboxes to select the user(s)
- Then click the “Add multiple users to groups” button. The following pop-up appears:
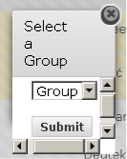
- A group can be choosen

- Click “Submit” to add the user to the group
Removing Users from a Group
To delete a user from a group. The group can be found in the column “Group”. Then the red cross can be clicked to delete the group from the user.